
However, not a lot of time in the kitchen means lots of super simple recipes! Everyone likes those, right?

These cookies are crazy. Crazy simple, crazy good, crazy fast. You need bananas, cocoa powder, quick oats, baking soda and 15 minutes. That's it!

Mix it all together in a big bowl, sneak a spoonful, and shape some cookies. You may want to sneak multiple spoofuls, actually, because the batter tastes really good. If you've got any batter left, then you can shape your cookies.
Soon after they're ready to eat! Because of the super awesome ingredient list, these cookies can be eaten for breakfast, snacktime, or dessert. They are so perfect for satisfying chocolate cravings in a healthy way.
Busy days? Bring it on! I've got Chocolate Banana Cookies to help me through.

Four Ingredient Chocolate Banana Cookies

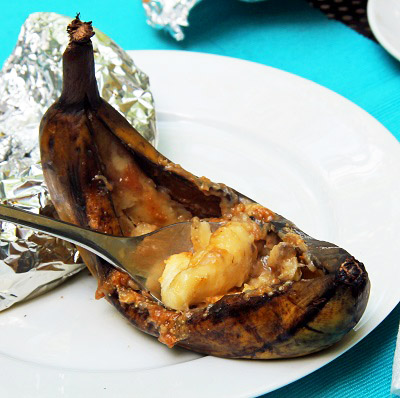
Revisited Recipe of the Day:
Chocolate Banana Cups

Soon after they're ready to eat! Because of the super awesome ingredient list, these cookies can be eaten for breakfast, snacktime, or dessert. They are so perfect for satisfying chocolate cravings in a healthy way.
Busy days? Bring it on! I've got Chocolate Banana Cookies to help me through.

Four Ingredient Chocolate Banana Cookies
- 1 1/2 cups quick oats
- 1/4 cup special dark cocoa powder
- 1/2 tsp baking soda
- 2 ripe bananas
Preheat oven to 350F. Mix together oats, cocoa powder, and baking soda in a large bowl. Place bananas in a small bowl and microwave for about 45 seconds, until soft and mushy. Mash completely, and add the bananas to the large bowl. Mix together until a batter forms. Shape batter into cookie shaped patties and place on a lined baking sheet. Bake for 6-10 minutes, until cookies are firm. Let cool and then transfer to an airtight container. Recipe makes about 10 thick cookies.

Revisited Recipe of the Day:
Chocolate Banana Cups